
Before you start
Decide which areas must stay clear and what you want to store. Check accessory instructions for suitable surfaces, loads and installation. These ideas do not replace any required anti-tip fixing for furniture.
Check the fit of over-door hooks
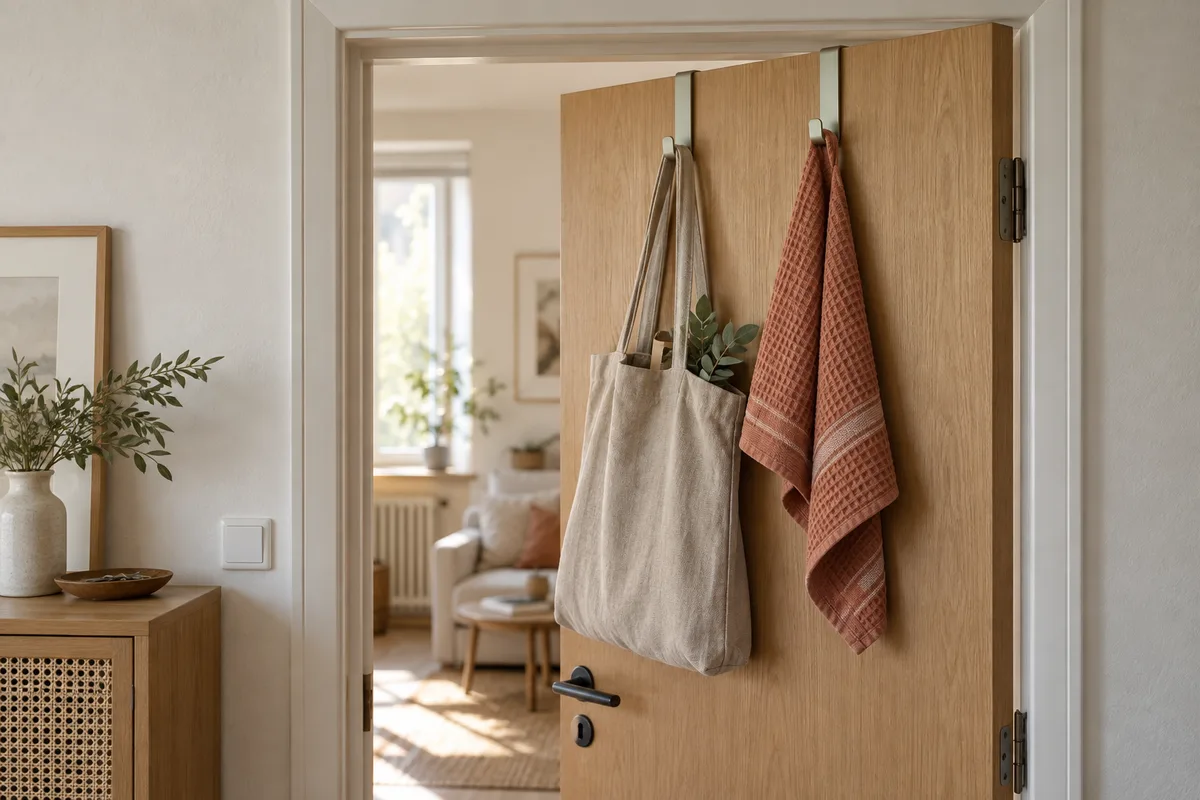
An over-door hook can hold lightweight textiles. It must suit the door thickness and clearance at the frame. If the door needs pressure to close or the hook rubs, the location is unsuitable.
Try it before buying
Measure the door and gap. Check a suitable hook without a load first, never forcing the door shut.
Use removable inserts in existing cupboards
Small boxes and drawer dividers organise space without wall mounting. Leave room to lift them out. An arrangement is not useful if reaching one item means moving three other containers.
Try it before buying
Divide one shelf with two containers you already own and try taking everyday items out.
Give changing supplies a low container
A stable box can gather blankets or craft materials. It should not obstruct walkways or doors. Tall, narrow furniture still needs any safety fixing required by its manufacturer.
Try it before buying
Mark the container footprint with paper and walk your usual routes through the room.
Match adhesive hooks to the surface
Adhesive fixings are not always removable without marks. Surface, humidity, load and waiting time vary by system. Use them only for suitable lightweight items as instructed, and avoid valuable or fragile objects.
Try it before buying
Read the full installation and removal instructions for your particular surface before choosing a fixing.
Give existing surfaces a clear purpose
A small key tray or accessories basket can make an existing chest of drawers more useful. Assign a permanent place instead of adding more surfaces. Putting things back should fit your everyday route.
Try it before buying
Place a bowl you already own where you naturally put things down, then test it for a week.
Which option fits your situation?
| Option | A useful starting point | Limitation |
|---|---|---|
| Over-door hooks | Light textiles on a suitable internal door. | Door thickness, top clearance and unobstructed closing must all be compatible. |
| Adhesive hooks | A light item on an explicitly approved surface. | Load rating, preparation, waiting time and removal depend on the system; there is no blanket promise for wallpaper or paint. |
| Low freestanding container | A movable group beside existing furniture. | It must not tip, obstruct doors or narrow a walkway. |
| Loose furniture inserts | An existing shelf needs dividing. | Outside dimensions and access matter; an insert does not enlarge the shelf. |
Check an over-door hook: two measurements and a movement test
Schematic view and enlarged details, not to scale. This is not a universal specification for clearance or hook thickness.
- 1 — Check the existing gap above the closed door. Compare it with the hook's material thickness and required clearances. Include seals in the fit check; the hook must not compress or damage them.
- 2 — Measure the door thickness where the hook will sit and compare it with the hook opening. A tight fit can damage paint; a loose fit can wobble.
- Fit a model approved for those dimensions without a load first. Move the door slowly through its usual travel. Stop if it rubs, resists movement or presses on a seal; never force it closed.
- Then check with the intended light textile that the handle and lock remain accessible. Take the load limit from the product instructions, not the size of the hook. Do not modify special doors, such as fire doors, without confirmed suitability.
Example: a compact hallway
Use an existing console for a key tray, a low basket beside it for light accessories and a compatible over-door hook for a light fabric bag. Mark the basket footprint with paper. Open the door fully and walk past carrying a bag. If space is tight, leave out the floor basket and move accessories to an existing compartment.
If everything returns to the console, the storage spot may be too far away or hidden under a lid. Move the container to the place where things actually land or simplify access. Consider buying something only after this trial.
Avoid two common mistakes: adding together the ratings of several adhesive fixings without explicit manufacturer approval, and leaving tall furniture unsecured just to avoid drilling. A required anti-tip fixing still applies; choose a different type of furniture if necessary.
Your checklist
Check these points before choosing a solution. Tick marks apply only to this visit.
Manufacturer guidance
These resources supplement the instructions for your particular furniture or accessory; they are not product recommendations.