
Before you start
Gather a tape measure, paper and a few shallow boxes you already own. Empty, clean and dry the drawer. Set sharp knives aside with their blades protected. Sort everything into daily, weekly and occasional use before deciding how many compartments you need.
Measure the inside, not the cabinet
Measure usable width and depth at the base and at narrower points caused by sloping sides or fittings. Check the clear height below the surface above the drawer. A 60 cm cabinet does not provide a 60 cm space for an insert. Tall utensil handles can prevent closing even when the base fits.
Try it before buying
Cut a paper template of the proposed insert. Place your utensils on it and check the closing movement slowly, without forcing trapped objects.
Put everyday cutlery at the front
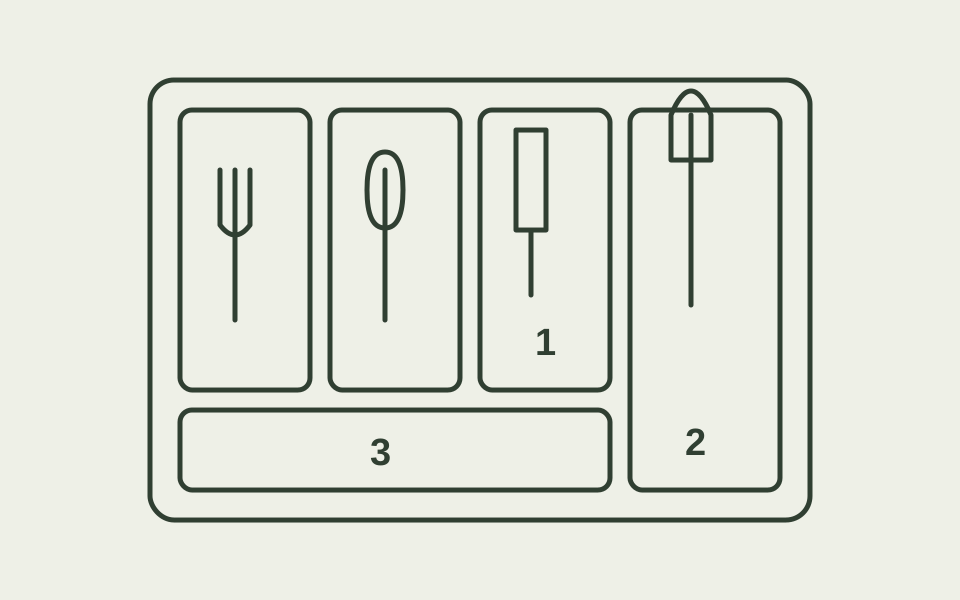
Separate forks, spoons and table knives so you can lift one without moving the others. Spare sets and occasional serving pieces can go farther back or into another drawer. Deep stacks appear efficient but make it harder to take things out and put them back.
Try it before buying
Keep only your regularly used quantity at the front for a few days. After unloading the dishwasher, check whether everything fits without pressing down on a stack.
Reserve one long space for utensils
Spatulas, whisks and tongs need a long compartment; many small boxes may simply get in their way. Measure the longest item including its handle. Close tongs for storage if they have a locking mechanism designed for that purpose. Keep frequently used tools near the work area.
Try it before buying
Lay the longest tools on paper and trace a shared outline with room for your fingers. Compare that footprint with the drawer interior.
Choose loose trays or an expanding insert
An expanding insert can match the width, but its depth and height usually remain fixed. Individual trays fit around obstacles and allow different zones, although they can slide. Prioritise compartments you can lift out and clean over the largest possible number of divisions.
Try it before buying
Test the arrangement with clean, dry boxes. Open and close the drawer several times. If the boxes move, adjust the layout or consider a suitable non-slip liner.
Leave room to lift things out
Do not fill every centimetre with compartments. Finger space and room for a future utensil are more useful than another tiny section. Give a small-item compartment a defined purpose, such as bag clips, so it does not become a miscellaneous dumping ground.
Try it before buying
After a week, look for items always left on top, unused objects and awkward compartments. Change the troublesome area first rather than replacing the whole layout.
Worked example: a 43 × 47 cm drawer
Suppose the usable interior is 43 cm wide, 47 cm deep and 7 cm high. An insert measuring 29–48 cm wide, 38 cm deep and 5.3 cm high is a possible candidate, adjusted within the available width. The remaining 9 cm of depth is not automatically a useful compartment: any extra tray must also be removable.
The calculated 1.7 cm above the empty insert does not prove that loaded handles will clear the drawer. Check the tallest item, the closing movement and the exact product variant. This is a planning example, not a compatibility guarantee.
Which layout suits your drawer?
| Option | Useful when … | Limitation |
|---|---|---|
| Fixed insert | The footprint and compartment lengths match. | Fixed divisions may leave unused edges. |
| Expanding insert | Width needs adjusting and depth and height already fit. | Width adjustment cannot fix a height problem. |
| Separate trays | Different objects need separate zones. | Check sliding and awkward gaps. |
A concrete example to compare
Joseph Joseph DrawerStore · 85042
29–48 cm wide, 38 cm deep and 5.3 cm high, according to the manufacturer.
An adjustable cutlery insert to use as a dimensional example. Check your drawer with cutlery loaded; only the width adjusts.
The source describes grey variant 85042 on the US manufacturer website. Check the regional listing, exact variant and availability separately before buying.
Check manufacturer specifications →
Selected from manufacturer specifications, not our own product test. This is not an affiliate link. Details checked on 2 October 2026.
Your checklist
Check these points before choosing a solution. Tick marks apply only to this visit.