
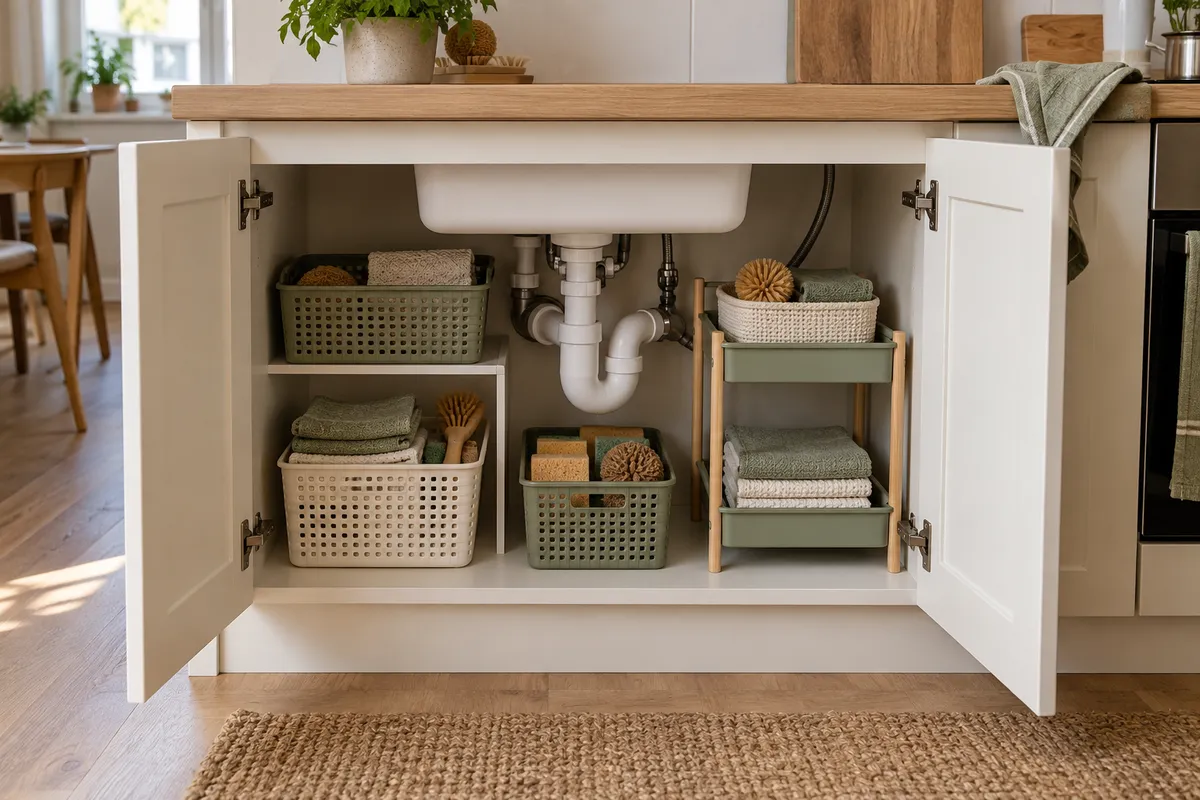
Your starting point
Empty it first. Then measure.
Remove what you do not need and group the rest by use. Measure the internal width, depth and clear height beside and below the waste trap. Door hinges and hoses need room too.
Keep connections and shut-off valves accessible. Store cleaning products out of reach of children and pets; fit a suitable child safety lock to a low under-sink cupboard.
A pull-out basket for the back row
A pull-out basket brings bottles from the back within reach. It can help if reaching your supplies at the back is otherwise awkward.
Measure the clear depth with the door closed and check that hinges, the waste trap and hoses do not block the basket. Some models need to be screwed into place.
Try it at home
Put frequently used items in a basket you already own and try pulling it forwards. This will help you judge whether a pull-out would make everyday tasks easier.
A shelf that leaves room for the waste trap
An extra shelf makes use of the height beside the pipes. An open or adjustable rack may fit the available space.
Compare the internal width, usable height and waste trap position with the actual product dimensions. A shelf must not rest on pipes.
Try it at home
Use a tape measure to mark the planned shelf height and hold your tallest bottles beside it. Check the space on each side of the waste trap separately.
Group baskets by task
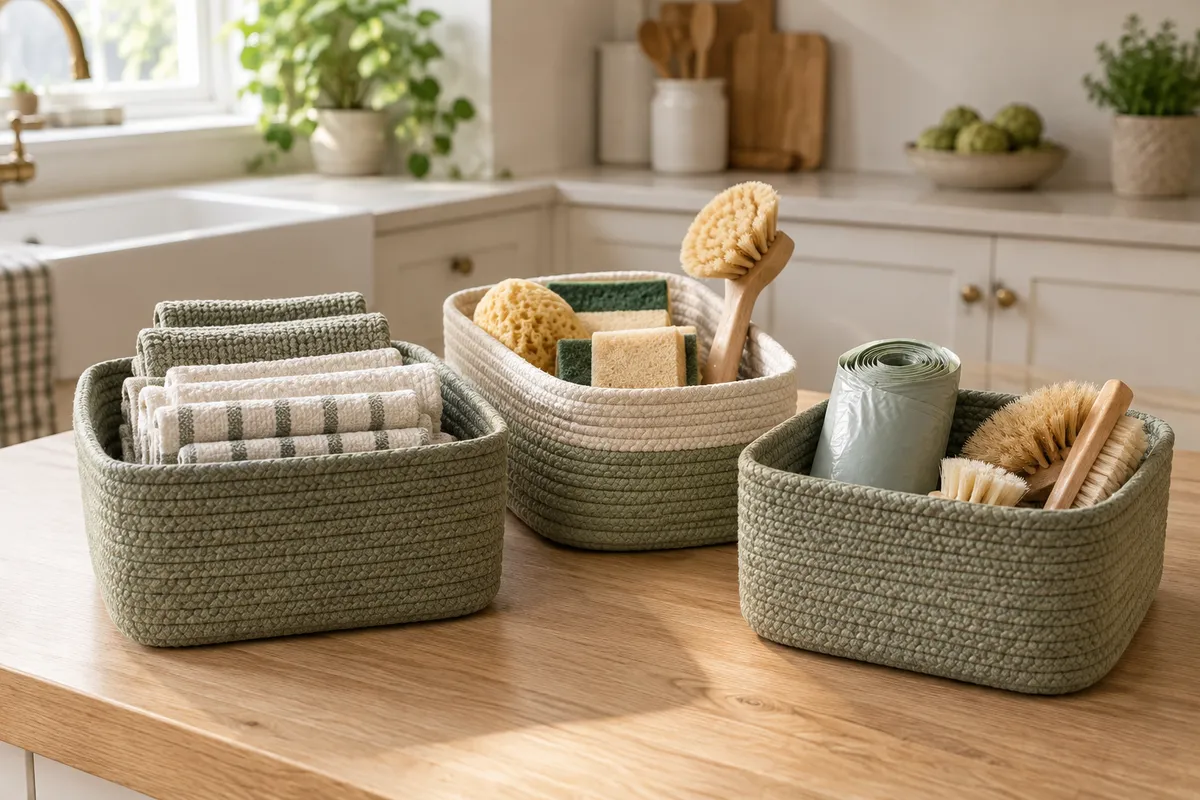
One basket for washing-up tools, another for cleaning cloths: you can lift out a whole group at once. Start with containers you already own.
Handles need clearance above them. Choose wipe-clean containers and keep heavy bottles on the bottom. Leave cleaning products in their labelled original containers.
Try it at home
Make two groups first: everyday items and spares. Put each group in its own container and keep the everyday essentials at the front.
Use the door for lightweight essentials
A shallow over-door basket can hold sponges or cloths if there is enough clearance inside. This keeps small essentials close at hand.
Check the door thickness, edge clearance and distance to shelves. Stay within the load limit; the door must close without pressure. Damp cloths need airflow to dry.
Try it at home
Hold a piece of cardboard the size of the planned basket against the inside of the door. Move the door carefully to check for obstructions without attaching anything.
A turntable for small bottles
A turntable lets you rotate small bottles to the front instead of taking several out. It can be useful in a clear section of the cupboard.
Measure the full turning circle, including the bottles. In a narrow rectangular space, a simple basket may use the room more efficiently.
Try it at home
Cut out a paper circle with the planned diameter. Lay it on the cupboard floor and place the bottles on it. Is there useful space left beside the circle?
Keep small items in stackable boxes
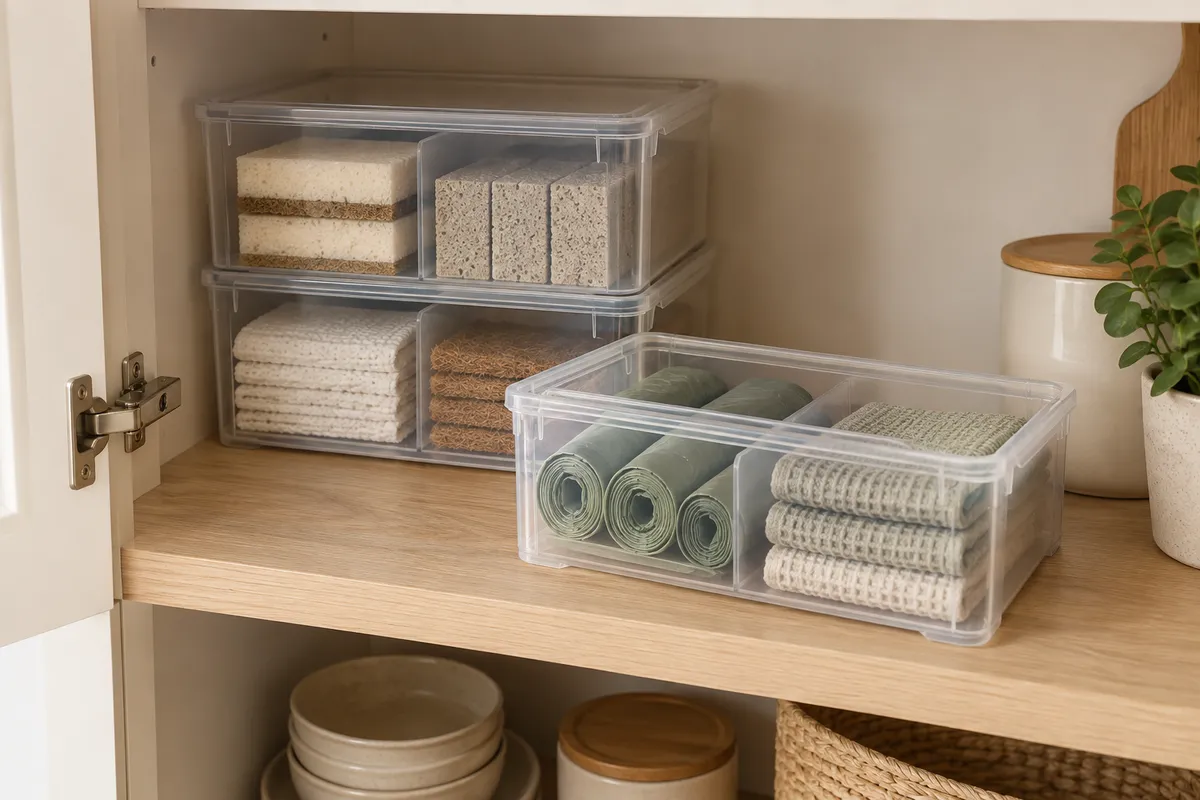
Keep dry sponges, bin bags and spare brushes together in small boxes. Labels make the contents easier to identify.
Stack boxes securely and leave clearance around the pipes. Keep frequently used items at the front; do not seal damp tools in airtight containers.
Try it at home
Sort dry small items into boxes you already own and label them. Check whether you can reach the bottom box without emptying the whole cupboard each time.
Keep the cupboard floor clear and easy to clean
A removable wipe-clean liner can catch small drips and dirt. Clearly defined spaces for containers can also make leaks easier to spot.
Check underneath regularly for moisture. A liner does not fix a leaking pipe or replace a repair. Shut-off valves and connections must remain accessible.
Try it at home
Clear the cupboard floor and wipe it dry. Give each container a set place so you can easily move things aside for regular checks.
Measure the space you can actually use
The cabinet's outside width is not enough to choose an organiser. You need the clear space inside and the narrowest opening on the way out. Record measurements in one unit and sketch the pipes, valves and hinges.
Measuring diagram, not to scale. Check depth and the pull-out path from the side as well.
- 1 — Measure the internal width and the clear opening between fittings. A container must fit through both; include projecting handles.
- 2 and 3 — Measure the clear height on each side of the trap separately. Check the whole intended footprint, including below hoses. For an extra shelf, allow for the container's height and room for your hand.
- 4 — Mark clear access to valves and connections. Choose containers you can remove without dismantling plumbing.
- Measure depth with the door closed. Try a paper footprint inside, then check the entire path forwards. Fitting on the cabinet floor does not guarantee a clear pull-out path.
- Compare your sketch with the outside dimensions and installation clearances of the particular accessory. There is no universal clearance that suits every cabinet and runner.
Basket, pull-out, shelf or turntable?
| Option | Useful when … | Less suitable when … |
|---|---|---|
| Removable basket | you want to lift out a whole group and keep the layout flexible. | the filled basket is too heavy or its handles catch. |
| Pull-out | you often need items from the back row. | fittings obstruct its travel or the required fixings cannot be installed. |
| Extra shelf | there is unused height beside the trap. | tall bottles only fit at an angle or the shelf would rest on pipes. |
| Turntable | small containers need to remain accessible in a clear area. | the turning circle wastes rectangular space or bottles hit an obstruction. |
Three layouts to adapt to your cabinet
Trap in the centre: try a narrow basket on each side. Keep the middle accessible for plumbing. Add a shelf only where your measured height allows it.
Pipes along one side: treat the clear side as a separate zone. A pull-out may work there; beside the pipes, small individually removable containers can be easier to use than one wide rack.
Waste bin inside: mark the space needed to pull the bin out and open its lid first. Only the remaining area is available for storage. A door basket must not collide with the bin or its runners.
These are planning examples, not tested installations. Change one thing and observe it for a week: can you reach everyday items without moving others? If not, reduce stacking or move reserves elsewhere. More shelves do not necessarily mean more usable space.
Your next step
Will the idea fit your cupboard?
Tick off these points before choosing a solution. Your selections are only kept for this page visit.
Start with one thing.
You do not need to replace everything in the cupboard. Choose the idea that solves your biggest everyday problem and try the layout with containers you already own.
Explore all categories